Approving or Rejecting the RMA
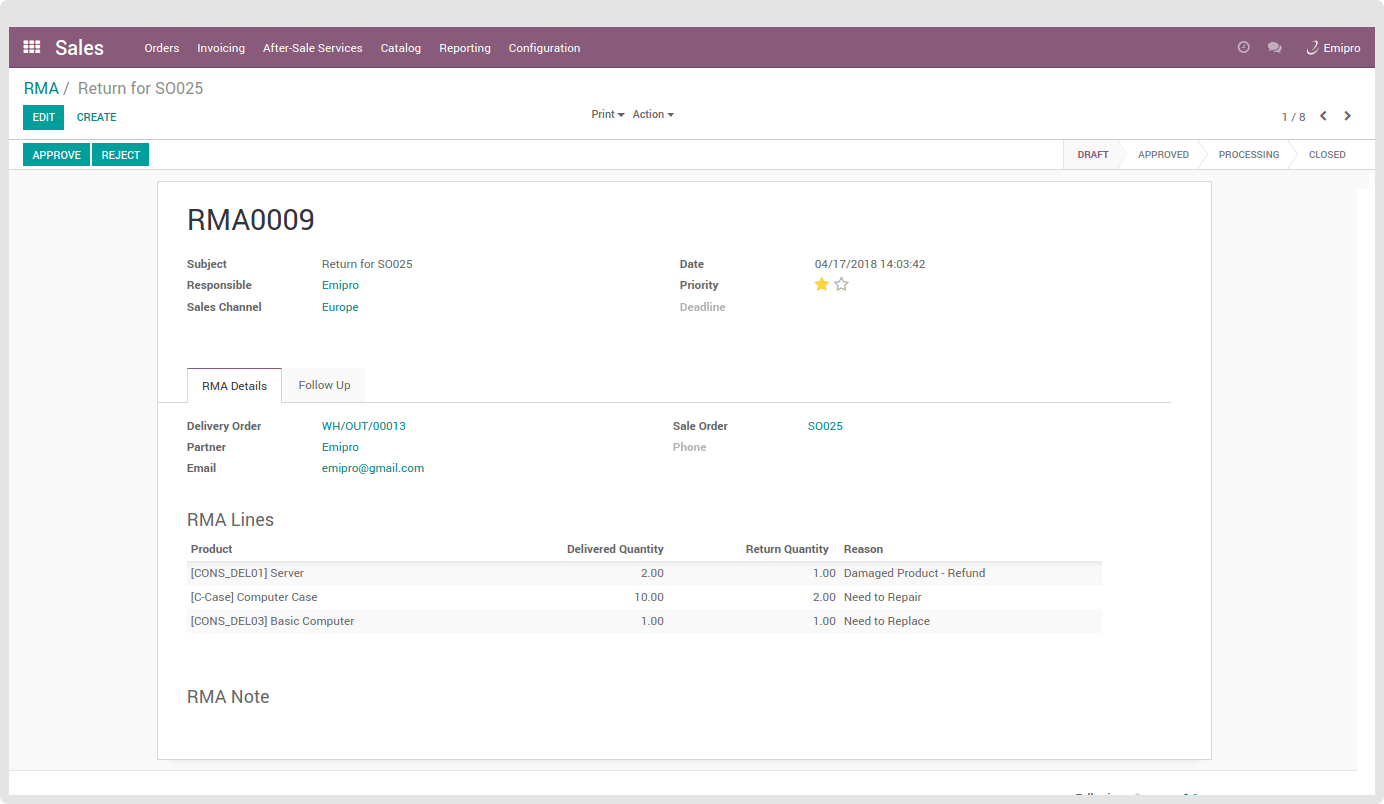
After saving the new RMA, a responsible user can see the two buttons Approve and Reject. If required, a user can also edit the new RMA from here.
In case of Approval, all details entered while creating new RMA will be shown. You can further Send RMA by Mail, Set it to Draft or Edit it.
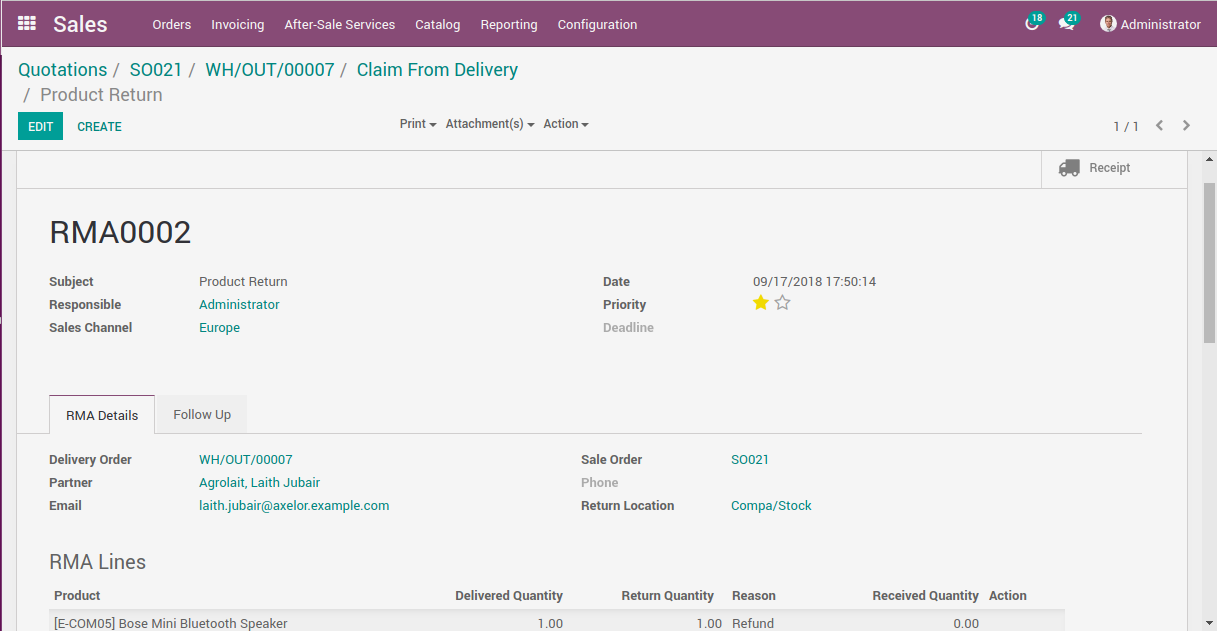
Once RMA is approved, the Receipt is generated. Once this Receipt is validated, the ‘return quantity’ field will automatically set and admin user can set associated action related to ‘RMA reason’.

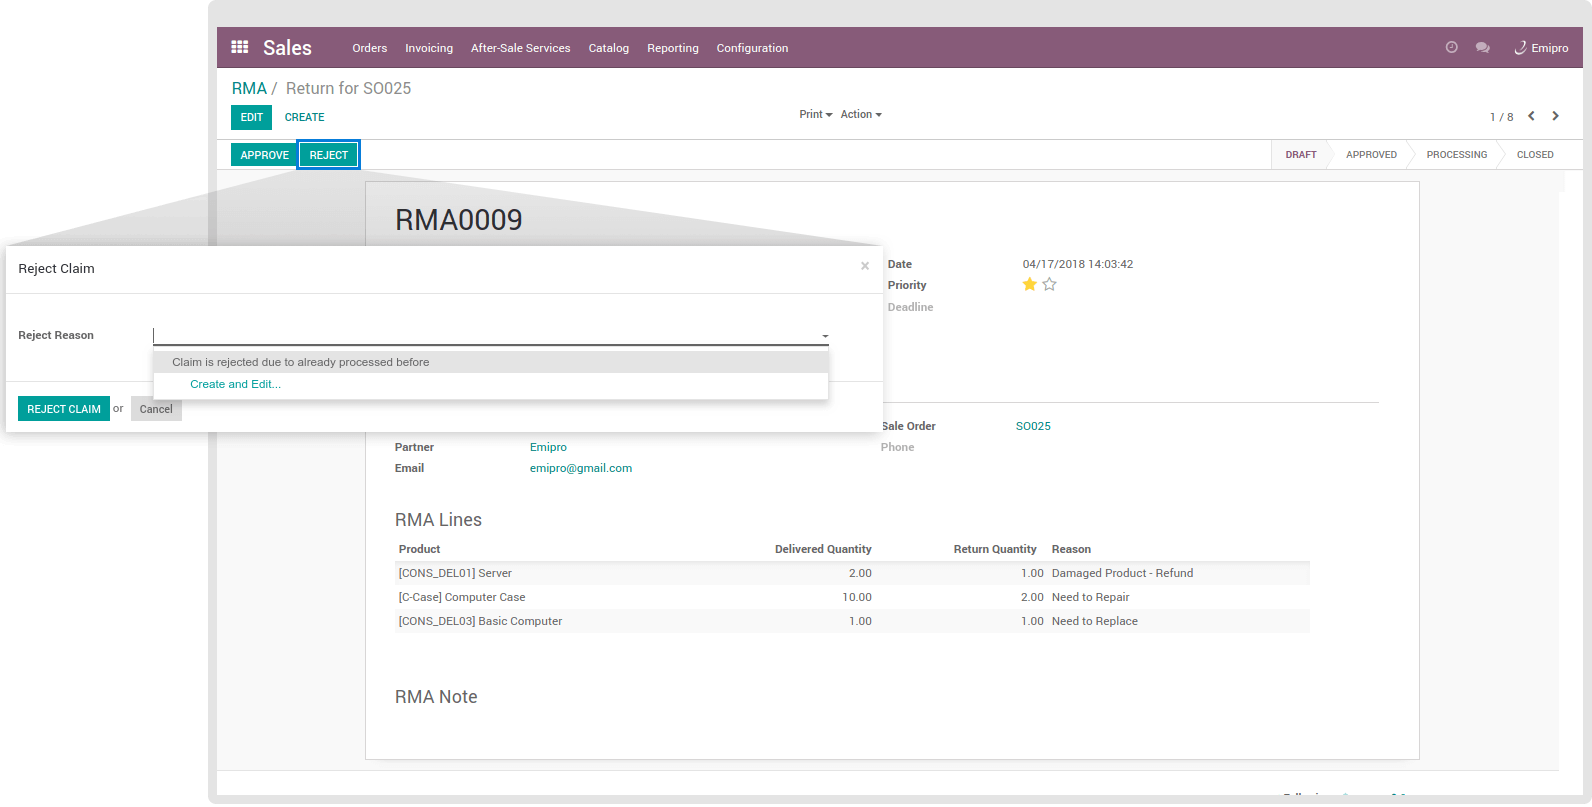
In case of Rejection, enter the Reject Reason when rejecting the product return. It is saved automatically for future use.
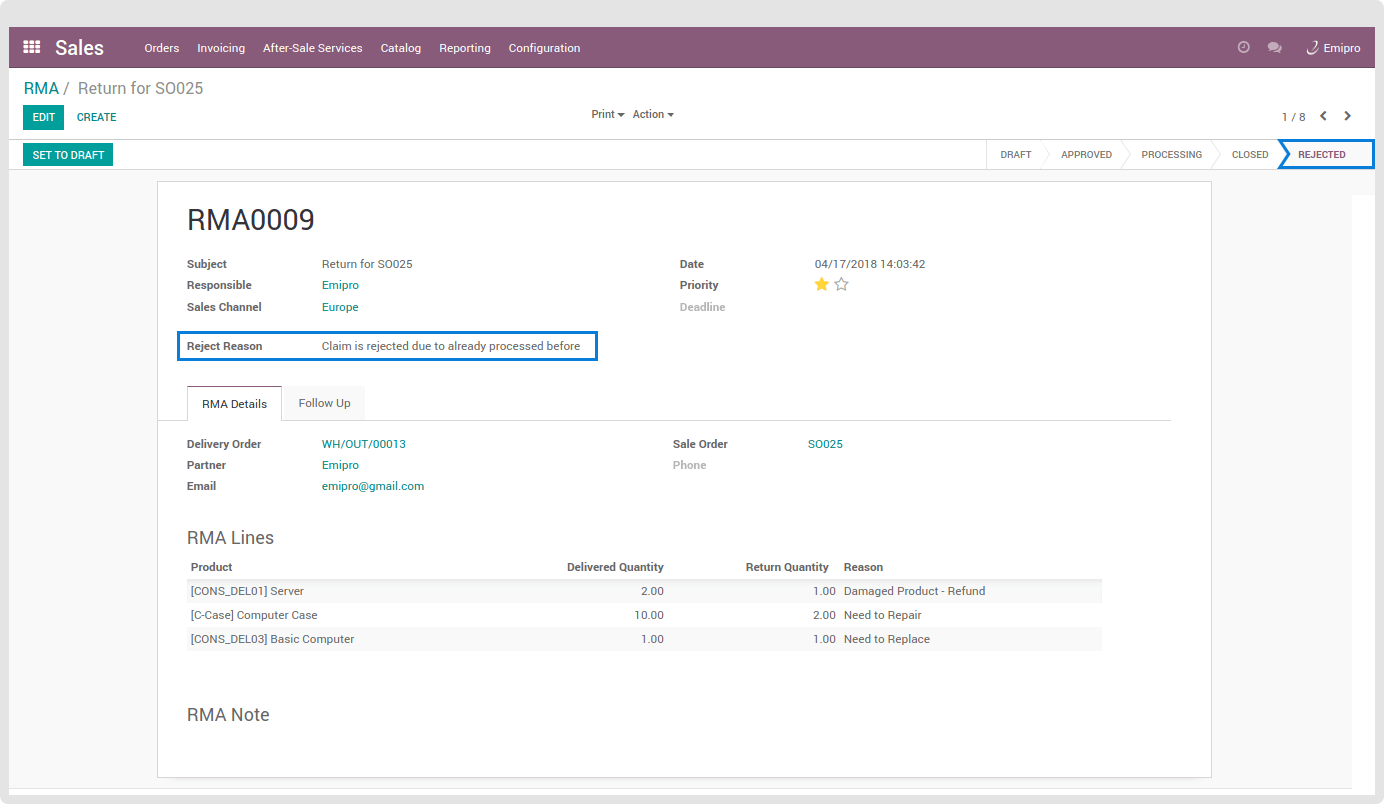
User can see the rejected claim with its reason it entered.