Creating RMA
In ‘RMA’, the user can create a new return request with two approaches.
- Manually create a new return request by clicking on the Create button and entering all the details.
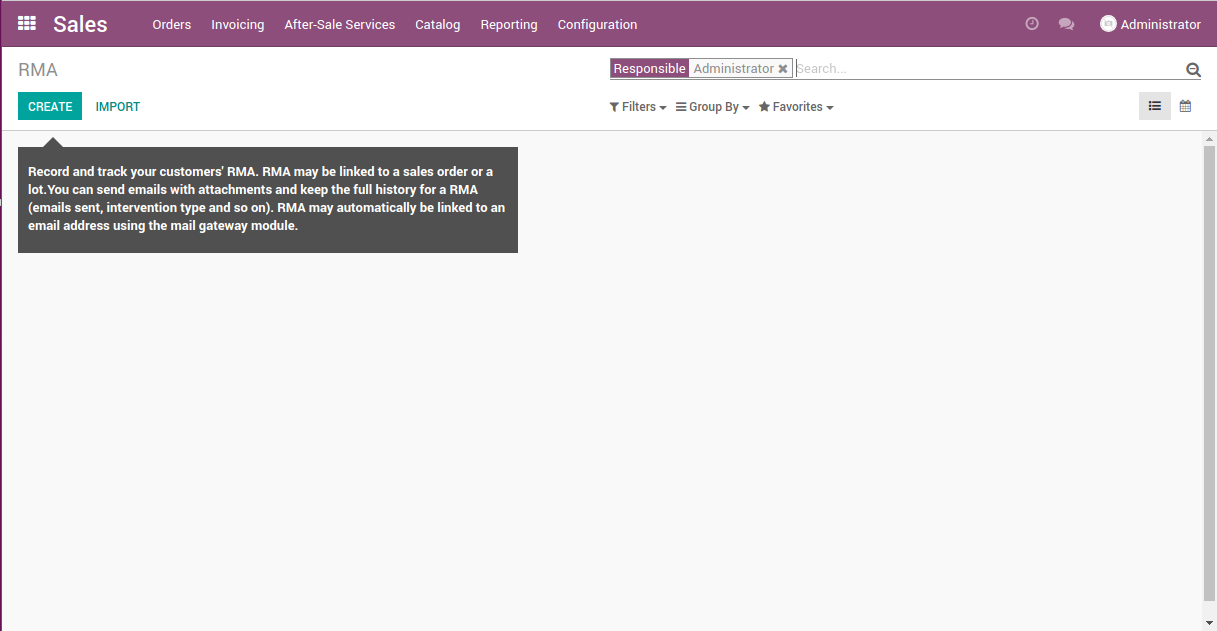
- Import the CSV or Excel file that contains multiple RMA Requests by clicking on the Load File button. A user can also test the import file by clicking on the Test Import button.
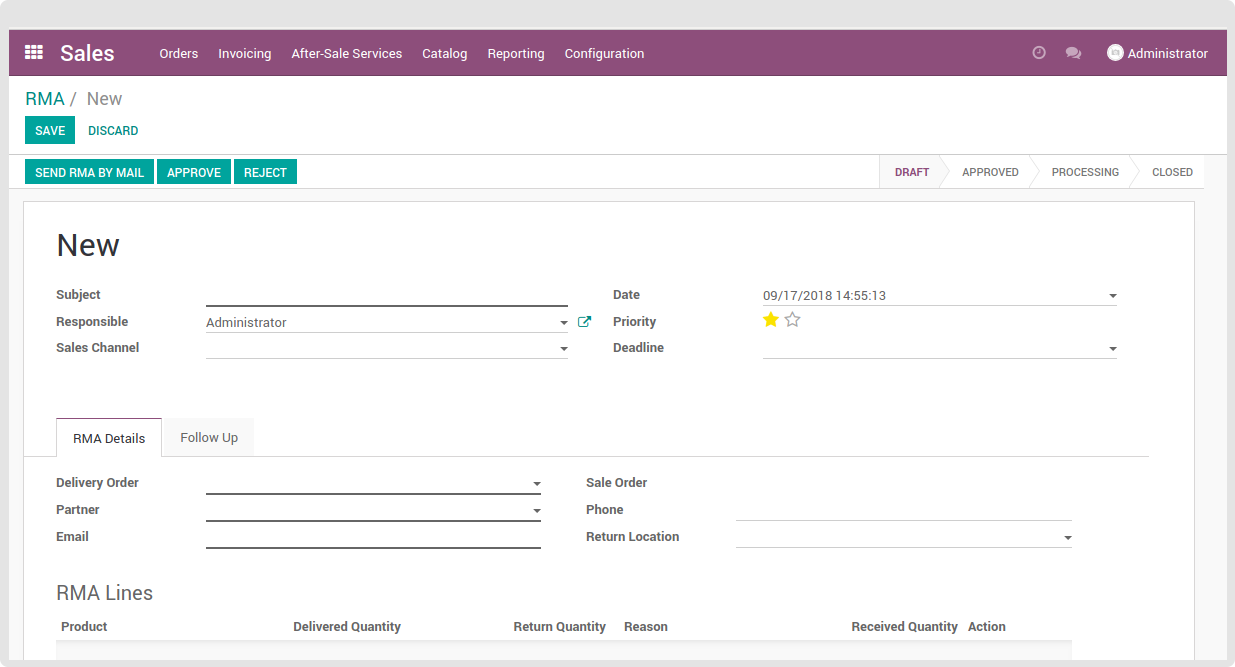
Now when the user clicks on the Create button, a new RMA form will open. Here many fields are mandatory to fill in order to carry out RMA systematically. Refer to the more details mentioned below.

New
- Subject: Write the subject line related to product return.
- Responsible: Mention the user who is authorised to handle the RMA.
- Sales Channel: Select the sales channel to which the product is managed.
- Date, Priority & Deadline: Set the creation date of RMA. Set its priority by selecting 1 or 2 stars- Low or High. Also, mention the deadline date if applicable.
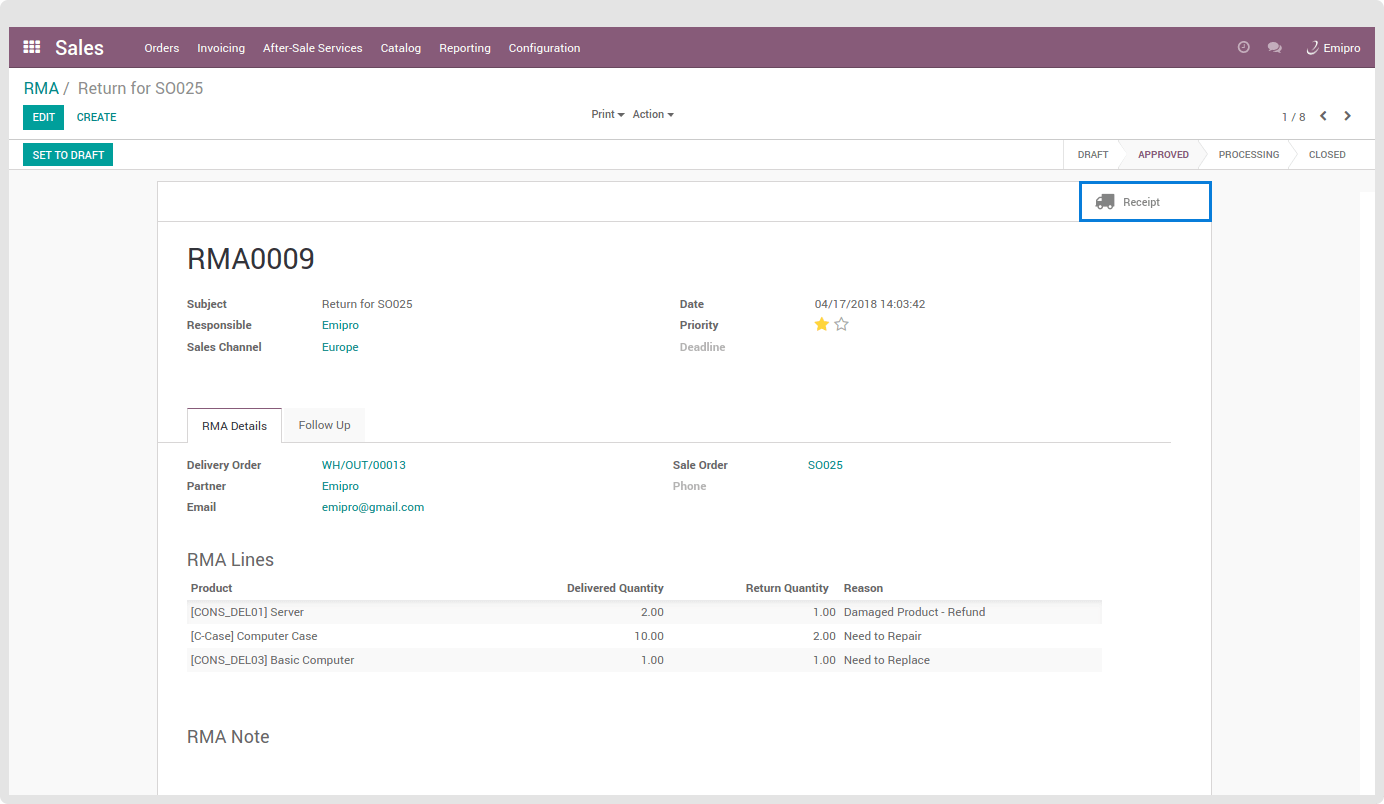
RMA Details
- Enter Delivery Order number in the field and it will show the list to select one from it. Select anyone, the remaining fields like Partner, Email, Sales Order and Phone are fetched automatically.
- Set the Return Location to where the returned product should be transferred.
Follow Up
- Enter the reminder date, special note, etc in follow up section to get alerts on particular RMA if required.
RMA Lines
- When the user selects Delivery Order, the product details in RMA lines are also fetched. Enter the return quantity against delivered quantity in the field and select reason for return.
- Write the special note or any other inputs which are related to the product return.