Upload Magento 2 Plugin in the server
Pre-Installation Step:
- Backup your Magento web directory and database.
Upload Extension:
- Unzip emipro_magento_api_change.zip file.
- Inside the emipro_magento_api_change folder, you will find the app folder.
- Copy that app folder and past it in Magento root folder.
Install Extension:
After uploading the Plugin, Please fire the below command on magento cli root directory
- php bin/magento setup:upgrade
- php bin/magento setup:static-content:deploy -f
- php bin/magento setup:di:compile
- php bin/magento cache:clean
Test Connection
After creating the Magento Instance in your odoo store and successfully installation of the Magento 2 Plugin in the Magento 2 store, Please check the connection between your odoo and Magento store.
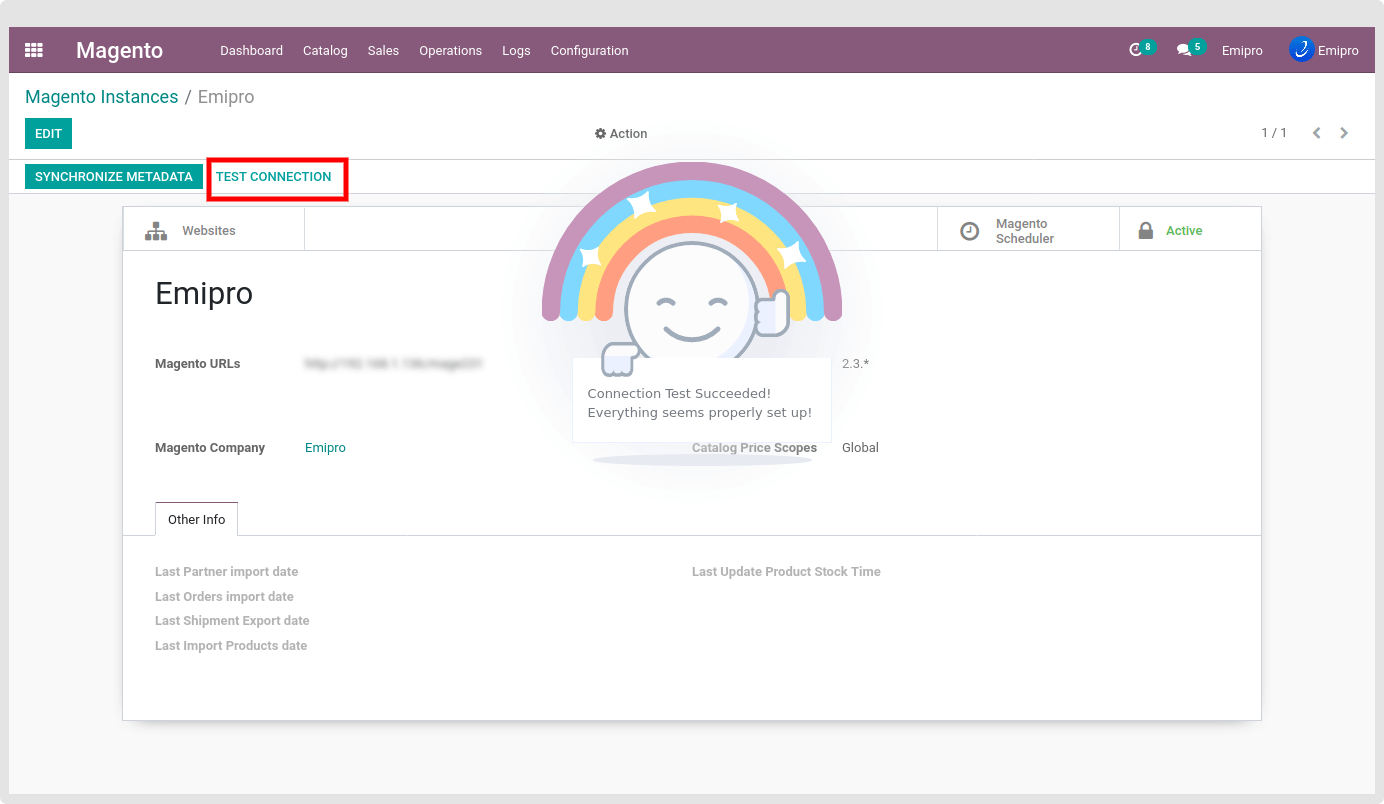
If Test Connection is successful then you are ready to use our connector. But in some cases, if the connection fails, Then please check & verify the Access Token of your Magento store. And again add your latest Access Token in the odoo instances.
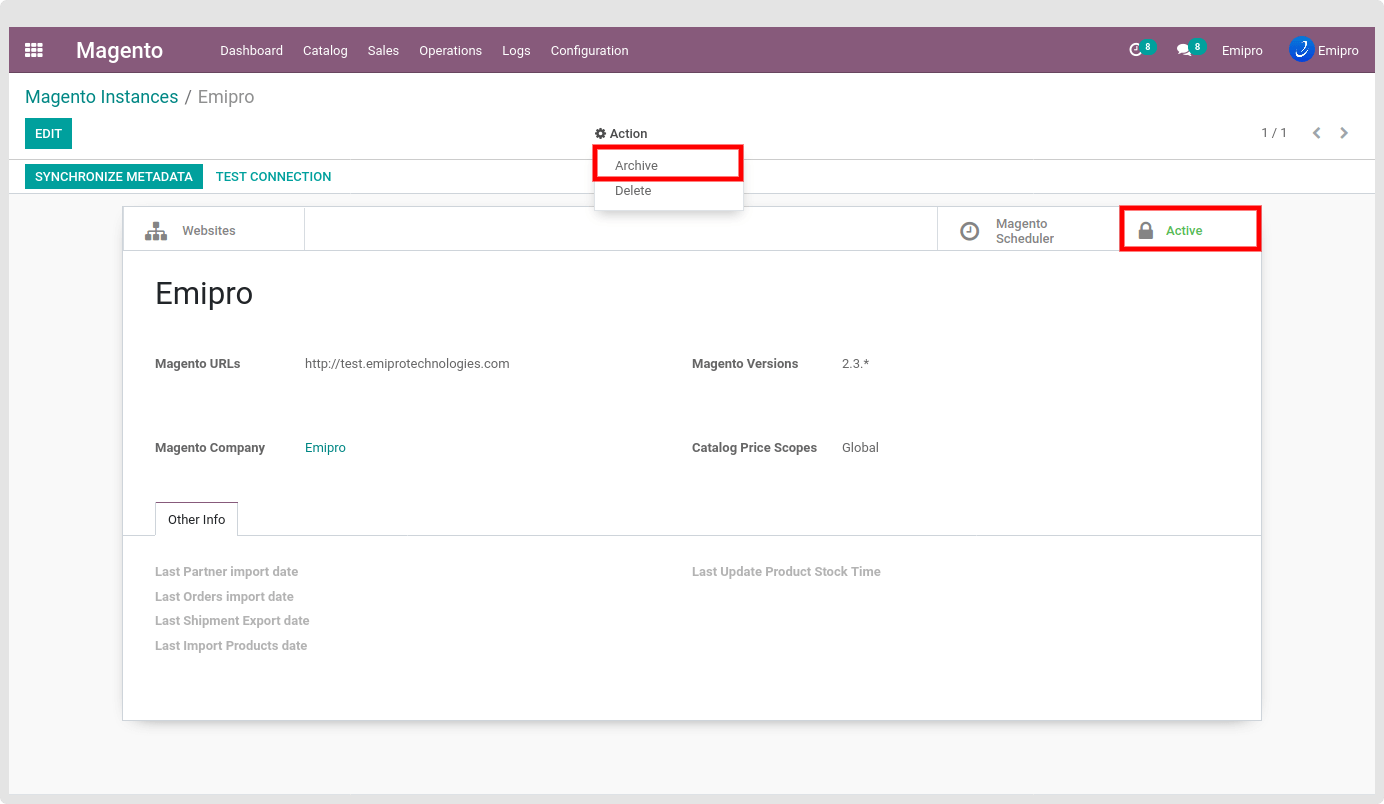
To add/edit a new Access token, Please click on the “Active” smart button or go to Action and Archive the current instance. Edit the Instance and insert the new Access Token. After that save the instance and again Test the connection.
Synchronize Metadata
After creating the instance and testing the instance, Please click on “Synchronize Metadata”.
It will sync your Magento useful configuration in odoo. It will sync your below Magento store data.
- Price scope
- All your Magento store currency
- All your website & store view
- All the active payment methods
- All the Delivery methods
- All the Magento inventory location [applicable on only Magento version 2.3 or 2.3+]
TIP
It’s recommended that if any of your Magento store configuration or setup will change after setting the instance in odoo, Please re Synchronize metadata once again.