Meta Data Mapping Configuration
What is Meta Data?
- Meta Data is defined as the data providing information about one or more aspects of the data for specific page location.
- User can use metadata to add additional field information to the specific page (i.e. Customer, Product, Order, etc.) in WooCommerce Store and then map & use the same for various operations of Odoo WooCommerce Connector.
WooCommerce Store
- Prepare any meta data field (with required specific field type).
- Assign it to specific page location (i.e. Customer, Product, Order, etc.).
- Make appropriate settings for the meta data field.
Odoo WooCommerce Connector
- Map the newly prepared meta data field with Odoo model & field.
Note
- It’s not possible to map meta data field with Odoo’s Type = Many2One,Binary,Many2Many,One2Many field.
- It’s possible to map meta data field with Odoo’s Type = Boolean,Char,Date,DateTime,Float,Html,Integer,Selection,Text field.
Meta Data Mapping in Odoo WooCommerce connector
- Go to Meta Mapping tab.
- Add required meta data field information in this Meta Mapping tab.
- WooCommerce Meta Key : It should be the same as you added Field Name information in WooCommerce Store.
- WooCommerce Operation : Select WooCommerce operation name (i.e. Import Products, Import Customers, Import Unshipped Orders, Import Shipped Orders, Export Shipment Information / Update Order Status) by which meta data field information should be imported / exported.
- Model : Select Odoo model name in / from which meta data information should be imported / exported.
- Field : Select Odoo model’s field name in / from which meta data field information should be imported / exported.
For Example : To add newly created metadata field i.e. ‘VAT Number’ information, need to add below mentioned information in Meta Mapping tab,
- WooCommerce Meta Key : vat_no.
- WooCommerce Operation : Import Customer.
- Model : Contact.
- Field : VAT/Tax ID (res.partner).

Note
- You can add ‘N’ number of metadata field information in this ‘Meta Mapping’ tab for same or different operations as per your need and requirement.
Perform Operation
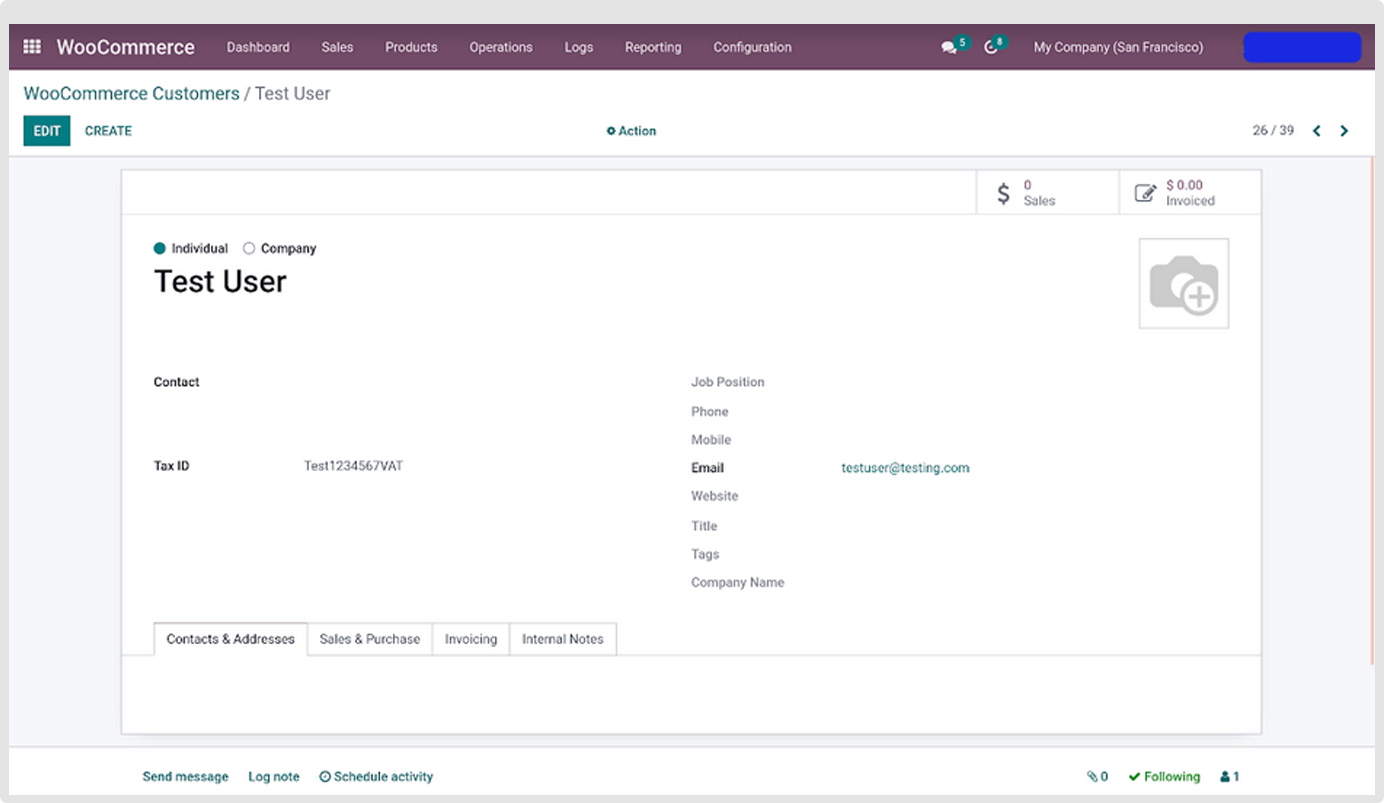
- For Example : I want to import newly created customer (i.e. Test User) along with added metadata field i.e. VAT Number information into Odoo.
- So, I’ll need to perform Import Customer operation for the same (as added in Meta Mapping tab of Odoo WooCommerce Connector to create VAT Number metadata field).
- Click on the Operation menu.
- Select respective WooCommerce Instance and Import Customer operation. Click on Execute to perform the selected operation.

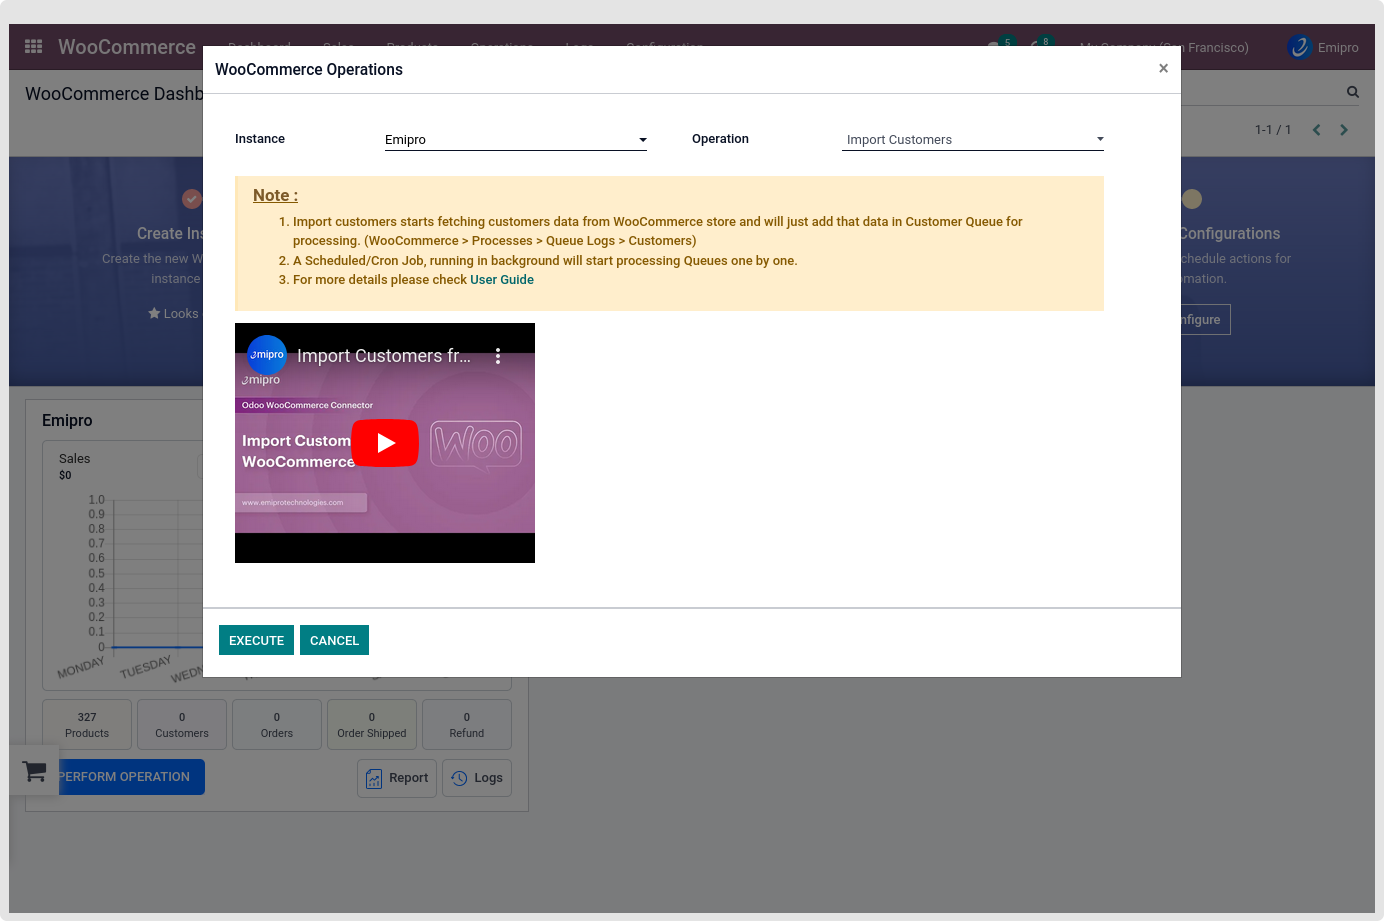
- It will create a Customer Queue to be imported into Odoo.
- Now, click on Process Queue Manually to process this customer queue manually.
- It will import all these customer records into WooCommerce -> Sales -> Customers.
- You can find our imported Test User record on this screen.
- By going to detail page of this imported Test User record, you can find that, our added metadata field i.e. VAT Number information has been successfully imported from WooCommerce Store to Odoo.
Note
- Here, I have performed operation Manually for the above mentioned example. You can also perform the operation either via Web hooks or Automatic Scheduler.