Import Cancel Order using Scheduler
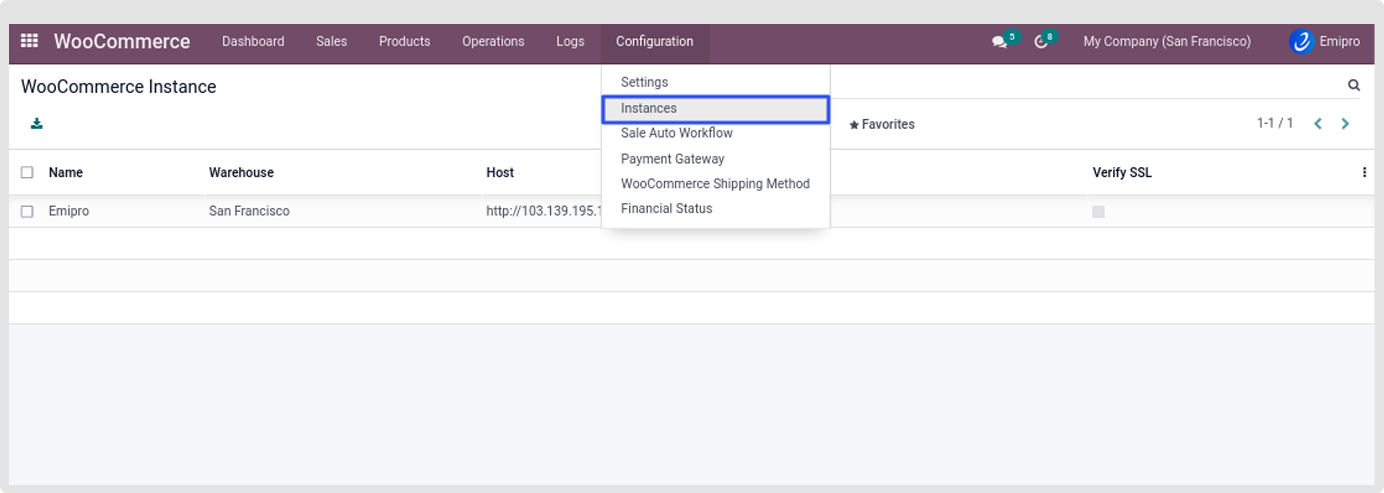
- You can import cancel orders using the scheduler by navigating to WooCommerce app -> Configuration -> instance.
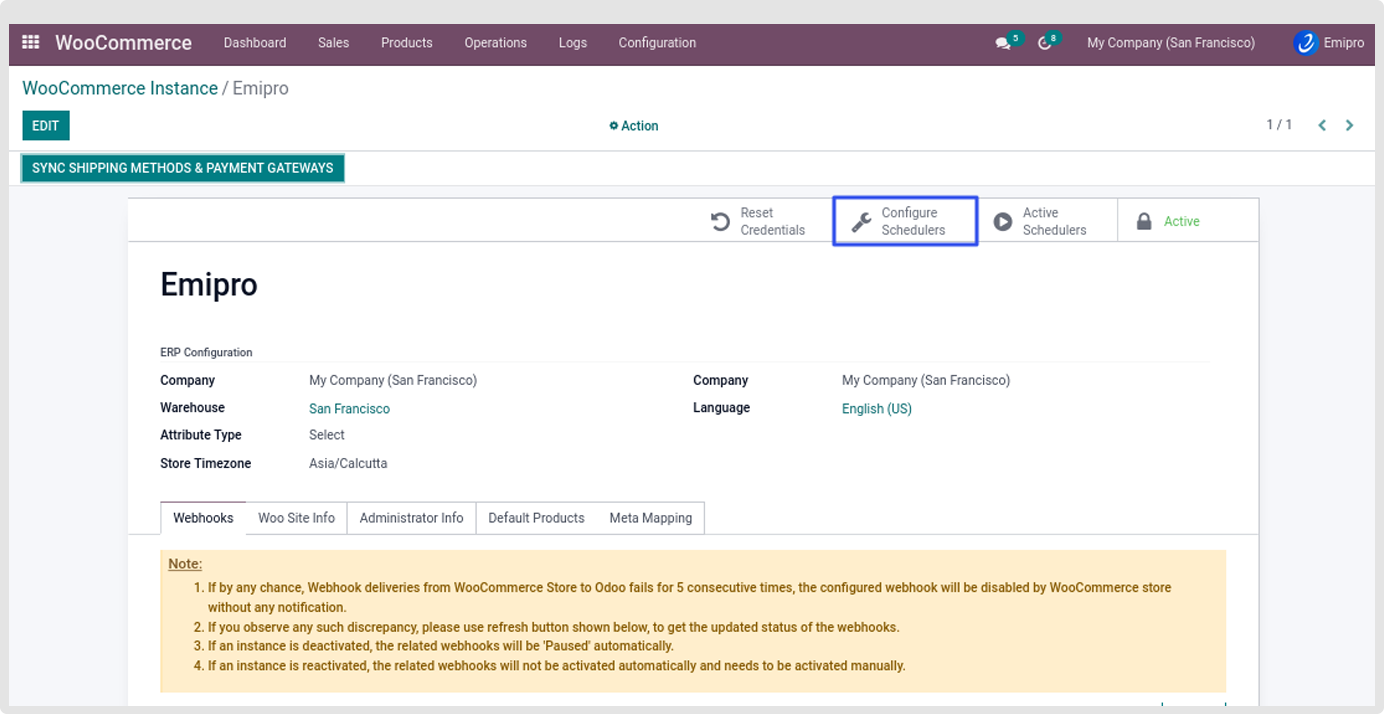
- You need to select the instance and click on Configure Schedulers and activate Import Orders in Odoo. You will need to set the scheduler for Importing the orders and updating the order status.
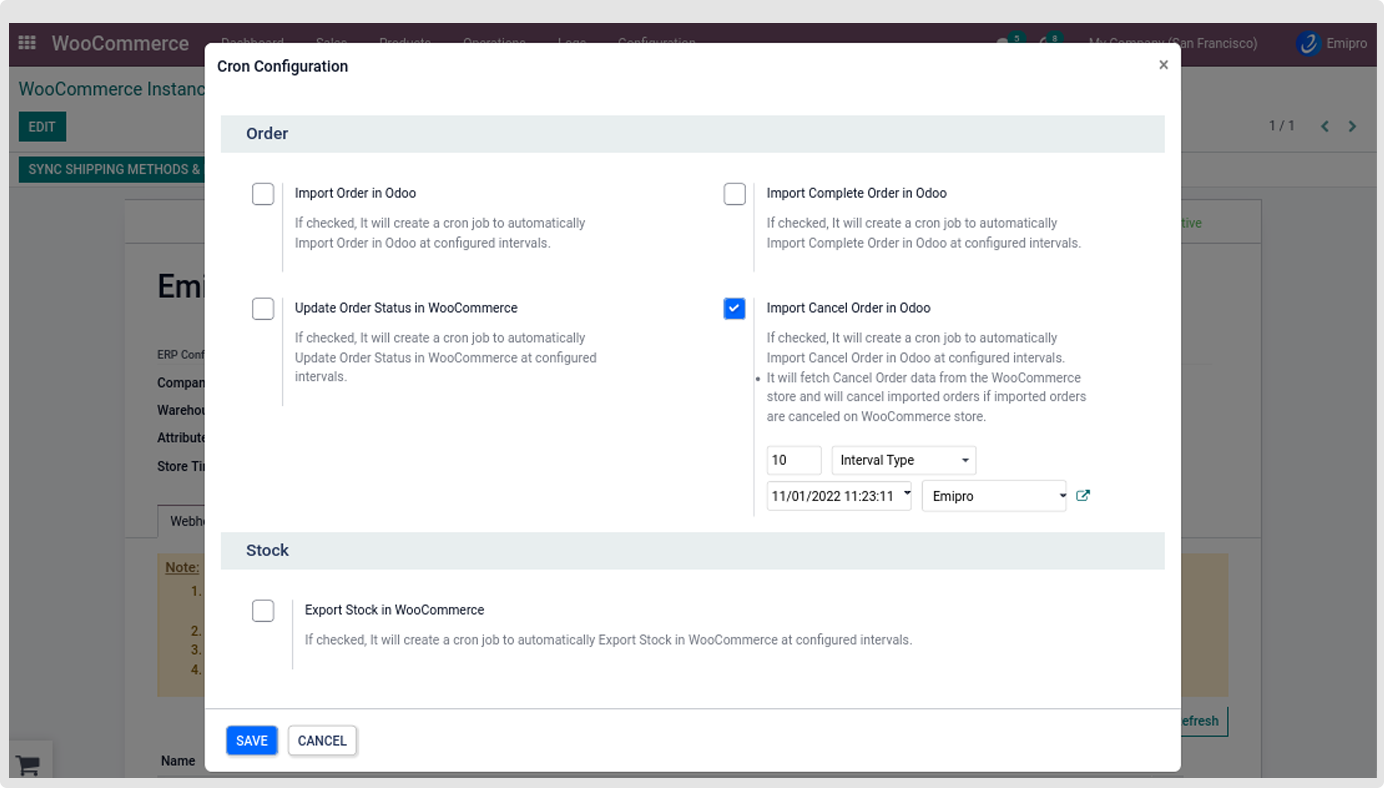
- User can configure many schedulers to set automated jobs to perform various tasks. To set scheduler, the user will require to enter 3 values:
- Time: you can set the interval in Minutes, Hours & Days which means the scheduler will run after a selected time interval.
- Execution date & time: Here you can set the execution date & time from when the scheduler will start.
- User: You have to select the user through which you want the task to be carried out. Make sure that the user selected for this task should possess the rights for the same.
- After successfully importing the orders you can see the all the orders under Sales > Orders > Quotation or Sales order stage